Professional DStv Dish Installation Services
DStv Dish Installation must give you a stable picture, strong signal quality, and reliable viewing across your channels from the first day. Sat Digital provides professional DStv dish installation for homes, flats, guest houses, restaurants, offices, and commercial properties throughout Cape Town and the Western Cape.
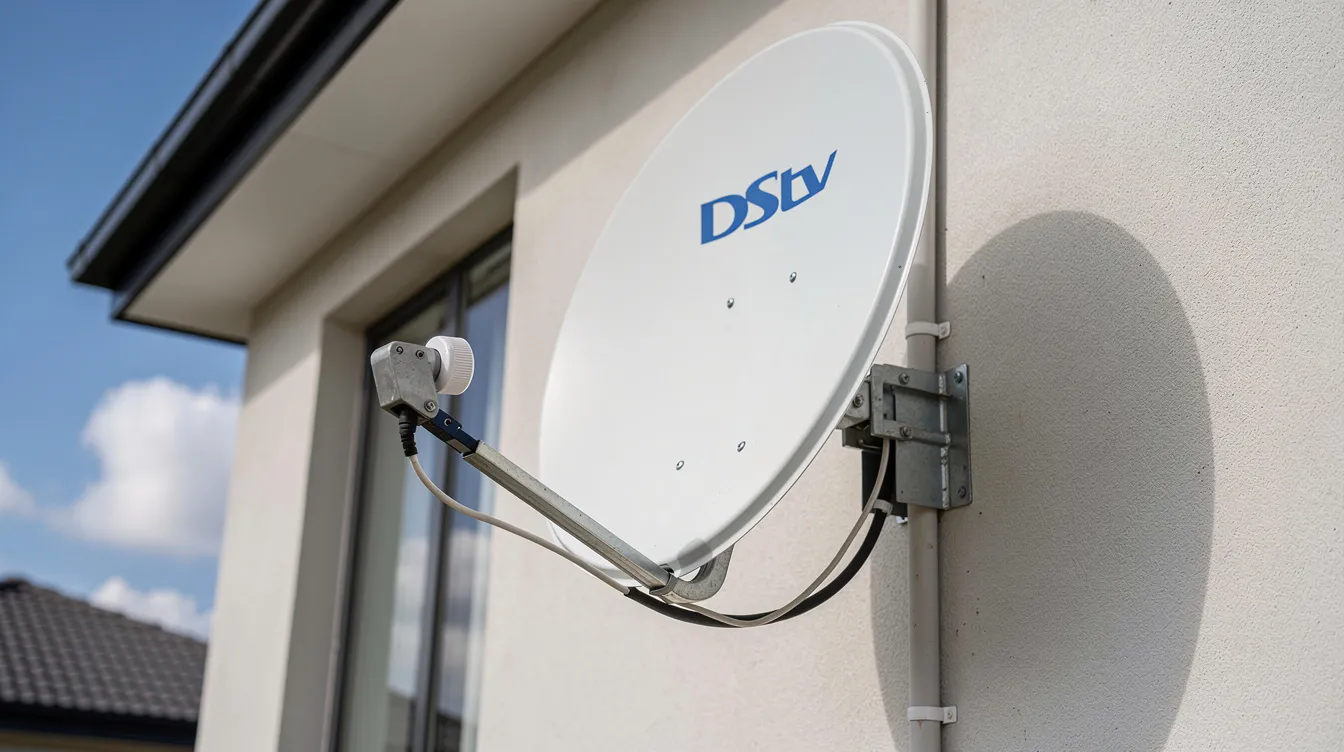
We install, replace, align, and configure every part of your satellite dish setup, including the dstv dish, lnb, coaxial cable, f connectors, bracket, decoder, cables, and signal testing equipment. Our technicians use the right tools to mount the dish correctly, align it accurately, connect it safely, and test the dstv signal before handover.
CTA Button: Call 071 304 6955 for Same-Day DStv Dish Installation
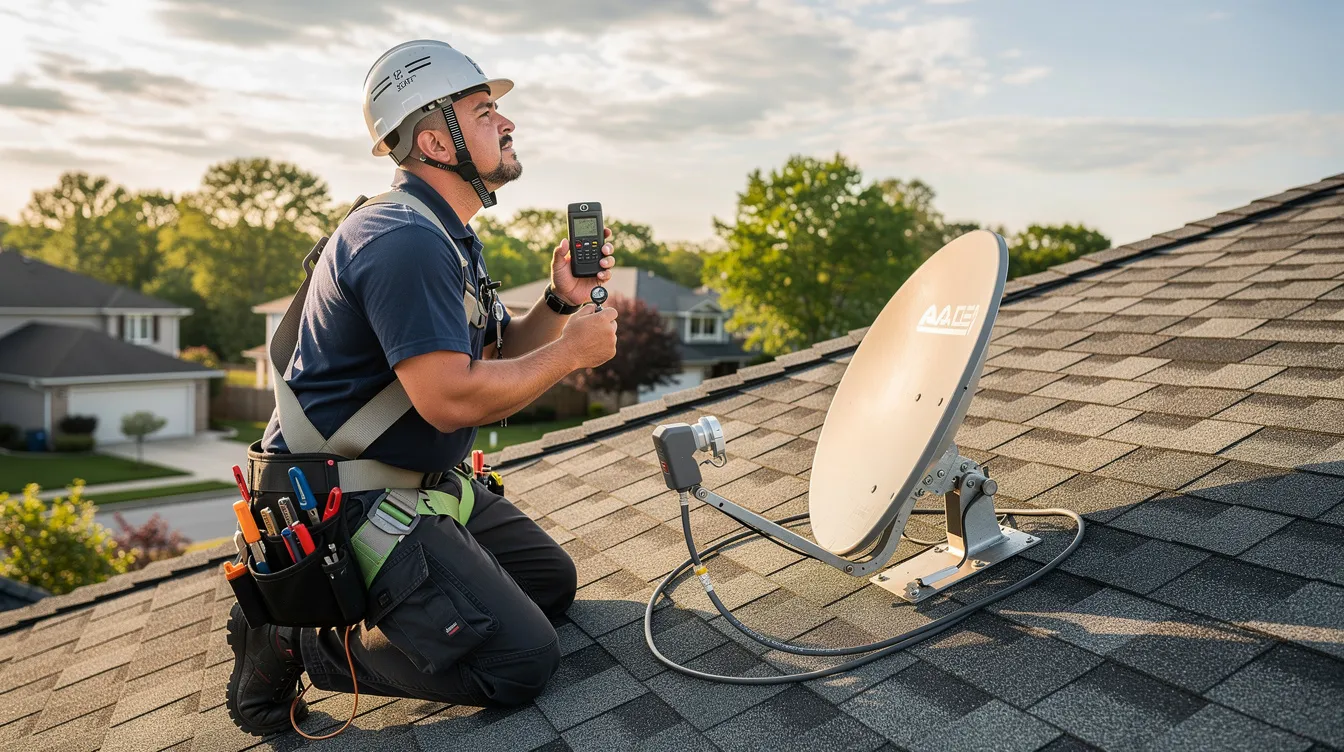
A professional installation matters because DStv signals are broadcast from satellites located at 36° East, and the dish must face northeast for optimal signal reception. The dish must also face northeast at an elevation of 35° for a typical setup, and precise azimuth and elevation adjustments are necessary for proper satellite alignment. In many technical references, installers align the dish towards Eutelsat 36B at 36°E for signal. A clear line of sight to the satellite is essential, so our installer checks trees, walls, rooflines, nearby buildings, and other obstacles before mounting.
Professional installation typically takes 1-3 hours, depending on roof access, wall mounting, cable routing, signal conditions, decoder setup, and whether you need one tv point or multiple decoders. Sat Digital also offers same day service where scheduling allows, so you can fix signal loss, complete a new dstv installation, or upgrade your existing dish setup without unnecessary delays.
For wider industry knowledge on satellite and broadcast technology, homeowners often refer to resources such as Space TV for equipment information and SatBeams for satellite footprint data. However, your final signal reception depends on local conditions, the right equipment, and accurate on-site dish alignment.
Why Correct Dish Installation Matters
Correct dish installation is the difference between clear HD viewing and frustrating interruptions. A misaligned dish can cause pixelated pictures, missing channels, audio dropouts, slow channel scanning, and recurring DStv error messages.
When your satellite dish is installed correctly, you get:
- Optimal signal strength: Strong signal strength helps prevent DStv error E48-32, which indicates no signal received.
- Better picture quality: Correct dish alignment supports consistent HD picture quality and reduces pixelation.
- Fewer repair calls: Professional installation prevents many costly repairs, repeat call-outs, and avoidable installation fees.
- Weather protection: Proper weatherproofing protects against Western Cape rain, wind, humidity, and coastal corrosion.
- Accurate satellite reception: Proper positioning gives the dish a clear line and unobstructed line to the satellite for optimal signal reception.
Common causes of DStv signal loss include poor dish alignment, loose f connectors, damaged cables, water ingress, a faulty LNB, and movement caused by wind. Loose F-connectors can lead to DStv no signal errors, while a faulty LNB can cause weak or no DStv signal. Therefore, every connector, cable, plug, bracket, and mounting point needs proper attention.
Installing a DStv dish requires precise measurements for optimal signal quality. A satellite finder or signal meter can assist in dish alignment, but professional installers have tools for optimal dish alignment and know how to adjust azimuth, elevation, and LNB skew to lock in the best signal strength. This is especially important because the diameter of the dish affects signal quality during adverse weather, and larger dishes mitigate signal loss caused by heavy rain.
DIY installation can save R800-R1,500 in costs, yet DIY installations often lead to common mistakes like poor alignment, incorrect cable routing, weak mounting, and poor waterproofing. Installation typically takes 3-6 hours for DIYers, and many still need a professional installer afterwards to fix signal issues. Professional installation costs more upfront, but it protects your decoder, cables, signal reception, and viewing experience.
Our DStv Dish Installation Services – Residential DStv Dish Installation
We provide complete new DStv dish installation for homes across Cape Town and the Western Cape. Whether you need a new satellite dish for a first-time dstv setup, a replacement dish after storm damage, or a better dish for improved signal reception, Sat Digital can complete the installation process professionally.
Our residential services include:
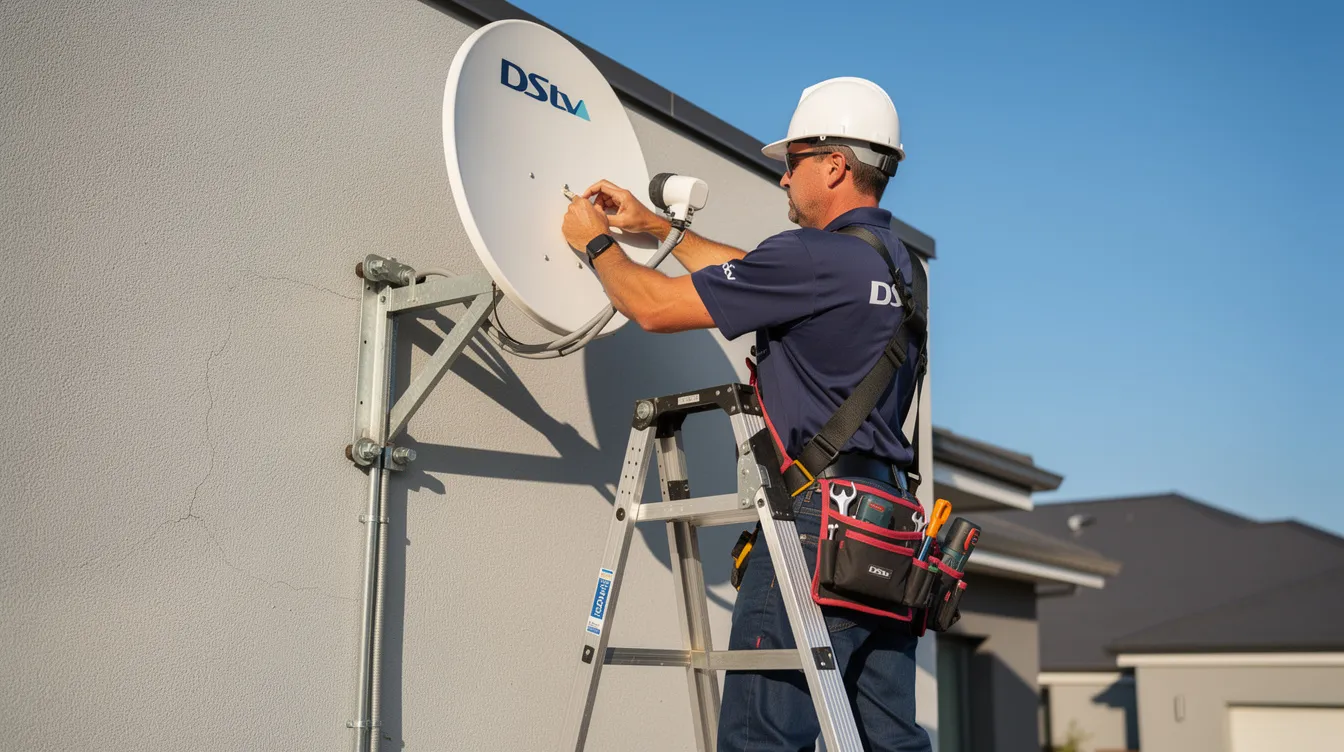
- New DStv Dish Installation: We install the dish, LNB, bracket, coaxial cable, f connectors, decoder connection, and complete signal testing.
- Satellite Dish Replacement: We replace rusted, bent, loose, or damaged dishes with stable equipment suited to local conditions.
- DStv Dish Alignment: We adjust and align your existing dish to fix signal loss, pixelation, and no signal error messages.
- DStv Extra View Setup: We configure dstv extra view for multiple rooms and multiple decoders where required.
- DStv Explora Installation: We install and configure a dstv explora, smart lnb, hdmi connection, and correct decoder settings.
- Dish Relocation: We relocate your dish when you move, renovate, change roof layout, or need a better clear line to the satellite.
For most homes, an 80cm dish is recommended for optimal signal strength. In addition, a 90cm dish is suggested for the best signal reception in more demanding areas. DStv recommends a 90cm dish for optimal signal reception, and a 90cm dish is recommended for optimal DStv signal reception where stronger rain-fade protection is needed. In signal-challenged areas, a 1m dish may be required.
We use RG6 coaxial cable for better signal quality, keep the cable away from electrical wiring to avoid interference, and create drip loops to prevent water from entering the home through satellite cables. We also waterproof connections because waterproofing connections is crucial to prevent internal water damage. Finally, we configure the decoder, activate services where required, scan channels, check the screen, and show you how to use the installation wizard or mydstv app where applicable.
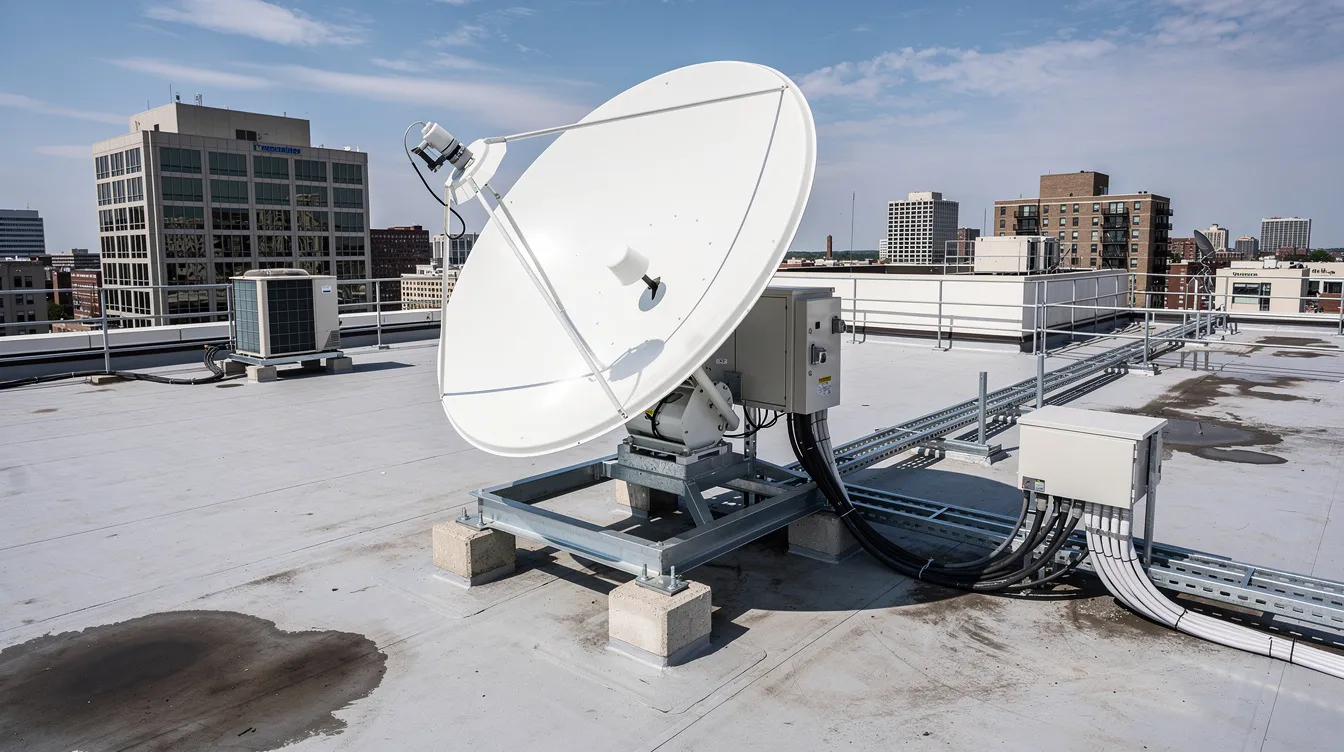
Commercial Satellite Dish Installation
Sat Digital also provides professional satellite dish installation for commercial properties that need reliable dstv access across multiple viewing areas. Hotels, restaurants, bars, offices, lodges, retail spaces, staff rooms, and apartment blocks often need stronger planning than a standard home setup.
Commercial dstv installation may include:
- Multiple TV points for restaurants, offices, guest rooms, and entertainment areas.
- Multi-dish setups for larger commercial buildings with different signal paths.
- Smart LNB or multi-LNB setup for multiple decoders and advanced configurations.
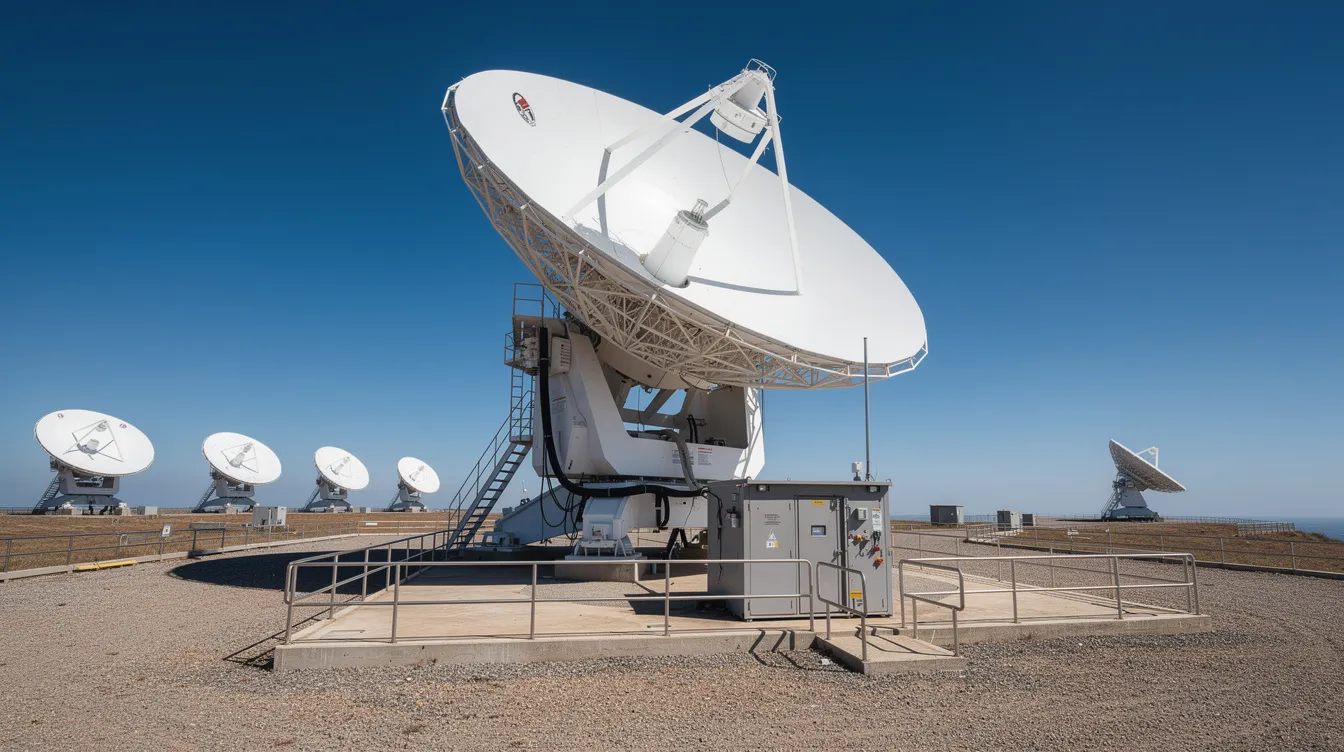
- Large dish installations for buildings with difficult signal conditions.
- Ongoing maintenance contracts to reduce downtime and repair delays.
Commercial properties need neat cable routing, secure roof or wall mounting, correct decoder configuration, and safe access planning. Dishes should be mounted securely on stable surfaces like brick or concrete. Where roof installation is necessary, our technicians inspect access, roof pitch, mounting strength, cable entry points, and safety requirements before installing.
For industry updates on commercial broadcast and television infrastructure, resources such as Digital TV Europe and TVTechnology provide useful context. However, your commercial DStv signal depends on professional on-site assessment, accurate dish alignment, and high-quality installation materials.
Types of DStv Dish Installation We Offer
Different properties need different dish sizes, mounting methods, LNB options, and cable routes. Sat Digital recommends the right equipment based on signal conditions, viewing needs, property layout, and long-term reliability.
Our DStv dish installation options include:
- 80cm Standard Dish Installation: An 80cm dish is recommended for optimal signal strength and suits many residential properties.
- 90cm Large Dish Installation: A 90cm dish is suggested for the best signal reception, especially where weather, distance, or obstacles affect performance.
- 1.2m Extra Large Dish: Larger dishes mitigate signal loss caused by heavy rain and help in extreme or remote conditions.
- Satellite Dish Replacement: We replace old, rusted, bent, loose, or storm-damaged equipment.
- Dish Alignment and Repositioning: We align and reposition existing dishes to improve dstv signal and reduce error messages.
- Wall Mount Installation: We attach the bracket securely to a wall where it gives a clear line to the satellite.
- Roof Mount Installation: We install on the roof when roof positioning gives the strongest signal and safe cable access.
- Pole Mount Installation: We use ground-based pole mounting where wall or roof mounting is not suitable.
- Coastal Installation: We use rust-resistant methods, secure mounting, and weatherproofing to protect against coastal conditions.
- Multi-LNB Setup: We configure multiple satellite reception on a single dish where the system design requires it.
The choice between a single lnb, smart lnb, low noise block upgrade, or multi-lnb setup depends on your decoder type, number of tv points, and whether you need dstv extra view. A smart lnb is often the right equipment for modern dstv explora systems and homes with multiple decoders.
The dish size also matters. The diameter of the dish affects signal quality during adverse weather, so bigger dishes create more signal margin during rain fade. For many homes, 80cm works well. However, DStv recommends a 90cm dish for optimal signal reception in many installations, and a 90cm dish is recommended for optimal DStv signal reception when the customer wants stronger performance.
Technical readers often compare satellite equipment discussions on Solid Signal and community experiences on SatelliteGuys. Still, local installation quality determines whether your dish, cable, connector, LNB, and decoder work together correctly.
Our DStv Dish Installation Process
Step 1: Site Assessment and Planning
We start every installation with a practical site assessment. Our technician checks the property layout, roof access, wall surfaces, possible cable routes, distance from dish to decoder, and potential interference. We look for an unobstructed line and a clear line of sight because a clear line of sight to the satellite is essential.
During the assessment, we confirm:
- The best position for the satellite dish.
- Whether the dish should go on a wall, roof, pole, or another stable mounting point.
- Whether an 80cm, 90cm, 1m, or 1.2m dish will suit the signal conditions.
- Whether you need a single lnb, smart lnb, or setup for multiple decoders.
- The best cable route from dish to decoder.
- Whether electrical wiring, trees, buildings, or rooflines may affect signal reception.
We provide a transparent quote with no hidden costs. Your dstv installation cost depends on dish size, cable length, LNB type, access difficulty, mounting method, and whether you need extra services such as decoder setup, dstv extra view, dish relocation, or signal repair.
Step 2: Professional Installation
Once you approve the quote, we complete the installation with the right tools, necessary tools, and professional equipment. We mount the dish securely, attach the bracket to a stable surface, fit the LNB, run the coaxial cable, connect the f connectors, and route the cable neatly to your dstv decoder.
Dishes should be mounted securely on stable surfaces like brick or concrete. Where we install on a roof, we take additional care with access, waterproofing, wind exposure, and safe cable entry. We also keep the cable away from electrical wiring to avoid interference.
We use RG6 coaxial cable for better signal quality. We also create drip loops to prevent water from entering the home through satellite cables. After that, we waterproof outdoor connectors because waterproofing connections is crucial to prevent internal water damage.
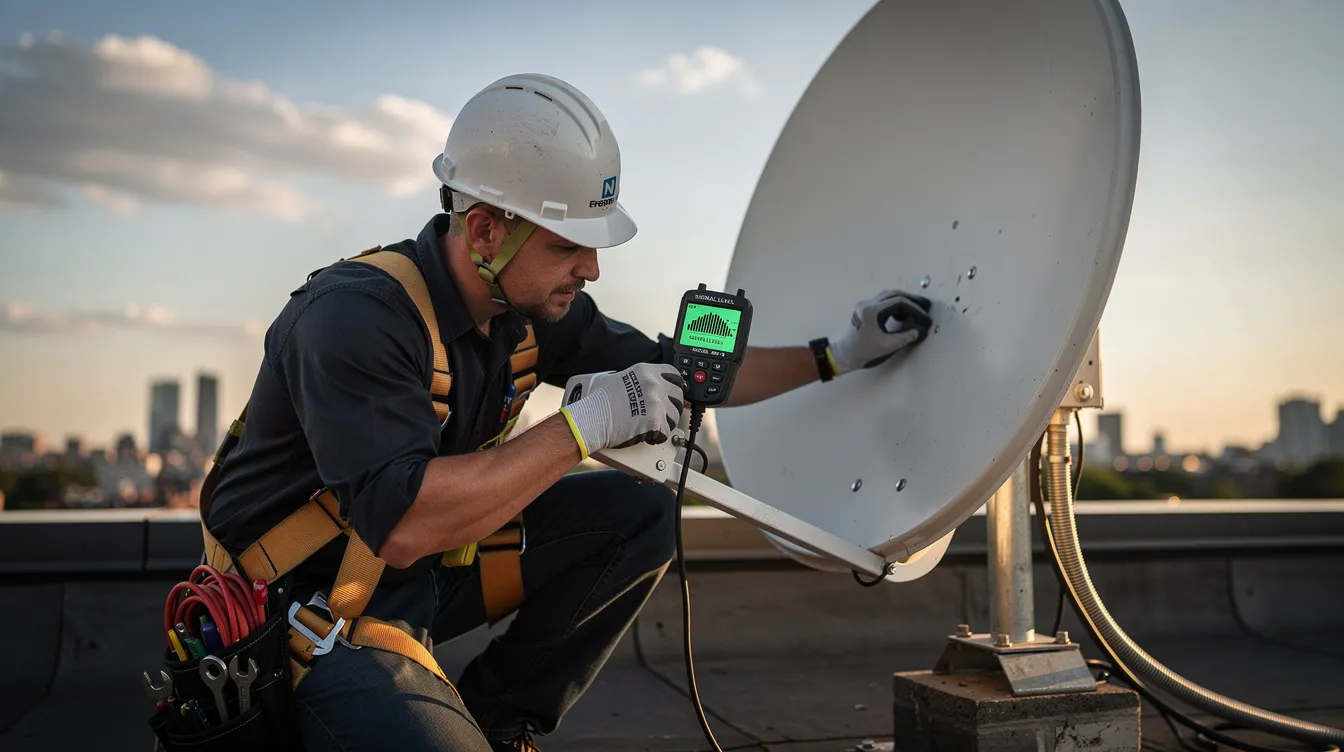
Step 3: Testing and Optimization
After mounting and connecting the equipment, we align the dish for optimal signal. This stage requires more than simply pointing the dish northeast. We adjust azimuth and elevation, fine-tune the LNB skew, and test signal strength and signal quality across channels.
A satellite finder or signal meter can assist in dish alignment, and our technicians use signal testing equipment to find the best signal strength. We then lock the dish, tighten the bracket, secure cables, and verify that the decoder receives stable signal.
We also configure the decoder settings, complete channel scanning, check HD channels, test the screen, confirm the HDMI connection where needed, and make sure the device responds correctly. If activation is needed, we guide you through the correct process, including the mydstv app where applicable.
For satellite listings and technical channel reference data, LyngSat remains a useful public resource. For consumer technology updates, Digital Trends also provides helpful background on connected tv, streaming, and home entertainment devices.
Step 4: Warranty and Support
Sat Digital supports customers after the installation. We provide warranty support on our workmanship and help with follow-up service where needed. If your signal drops, your decoder shows an error, or your screen displays E48-32, we can inspect the dish, LNB, connectors, cables, and decoder setup.
Our support covers common issues such as:
- Poor dish alignment.
- Loose f connectors.
- Damaged coaxial cable.
- Faulty LNB.
- Weak signal strength.
- Incorrect decoder configuration.
- Wind movement on the dish.
- Water entering connectors.
- Obstructed signal path.
Before calling, you can also check simple items such as power, cables, and plug connections. You may unplug the decoder briefly, reconnect it, and check whether the error clears. However, if the error returns, contact a professional installer because repeated signal loss usually points to alignment, cabling, LNB, or mounting issues.
Why Choose Sat Digital for Your DStv Dish Installation
Sat Digital is a Cape Town company that understands Western Cape signal conditions, coastal corrosion, strong wind, rain fade, property layouts, and customer expectations. We focus on reliable DStv dish installation, professional dish installation, satellite dish installation, dstv dish alignment, dstv dish setup, and complete dstv signal installation.

Choose Sat Digital because we offer:
- DStv Accredited Installers: Our certified technicians understand correct installation standards and signal testing.
- Same-Day Installation Service: We offer same-day DStv dish installation where scheduling and access allow.
- Transparent Pricing: We explain installation fees before work starts, so you avoid surprise costs.
- Quality Materials: We use reliable dishes, brackets, cables, connectors, and LNB equipment.
- Local Signal Knowledge: We understand Cape Town and Western Cape signal challenges.
- Professional Equipment: Professional installers have tools for optimal dish alignment.
- Strong Workmanship: We install, align, test, connect, configure, and hand over the setup properly.
- Emergency Repairs: We help fix signal loss, E48-32 errors, and weak reception.
- Free Quotes: We offer free site assessments and clear recommendations.
- Conversion-Focused Service: We answer quickly, explain clearly, and help you book your DStv dish installation without confusion.
Many customers search for “satellite dish installers near me” after a diy installation fails, after a storm moves the dish, or after a decoder starts showing no signal. DIY installation can save R800-R1,500 in costs, but poor alignment, wrong LNB setup, loose f connectors, cable damage, and weak mounting often create more expense later.
Professional installation gives you the right equipment, accurate signal reception, proper waterproofing, stable mounting, and a complete setup. In addition, professional installation typically takes 1-3 hours, while installation typically takes 3-6 hours for DIYers. That time difference matters when you want your channels working today.
For broader home entertainment trends, What Hi-Fi? covers audio-visual quality and viewing technology, while Satellite Evolution follows satellite industry developments. At property level, though, your viewing quality still depends on one practical result: a dish correctly installed, aligned, connected, and tested.
Frequently Asked Questions
How long does DStv dish installation take?
Professional installation typically takes 1-3 hours for a standard home setup. The exact time depends on roof access, wall access, cable length, decoder type, dish size, signal conditions, and whether you need one decoder or multiple decoders.
Same day service is available where our schedule allows. If you need urgent help with DStv error E48-32, signal loss, poor dish alignment, or a new dstv dish installation, call Sat Digital early so we can arrange the fastest available appointment.
DIY installation usually takes longer. Installation typically takes 3-6 hours for DIYers because they must find the correct mounting point, attach the dish, run the cable, fit connectors, adjust azimuth and elevation, configure the decoder, and test signal strength without professional tools.
What size dish do I need for my location?
For many homes, an 80cm dish is recommended for optimal signal strength. However, a 90cm dish is suggested for the best signal reception where weather, obstructions, or signal challenges affect performance. DStv recommends a 90cm dish for optimal signal reception, and a 90cm dish is recommended for optimal DStv signal reception in many stronger installations.
In signal-challenged areas, a 1m dish may be required. For extreme conditions, remote areas, or highly exposed properties, a 1.2m extra large dish may provide better reliability. Larger dishes mitigate signal loss caused by heavy rain because the diameter of the dish affects signal quality during adverse weather.
We recommend the right dish after checking line of sight, elevation, mounting height, cable route, and local signal reception. That way, you avoid paying for unnecessary equipment while still getting stable dstv signal.
Can you install a dish on any type of roof?
We can install on many roof types, but safety and stability come first. The dish must attach to a secure surface, and dishes should be mounted securely on stable surfaces like brick or concrete where possible.
If roof mounting is not suitable, we may recommend a wall mount installation, pole mount installation, or another position that gives a clear line to the satellite. A wall often gives strong results when it faces the right direction and allows neat cable routing.
The dish must face northeast for optimal signal reception, and the dish must face northeast at an elevation of 35°. We also check that the cable route allows drip loops, waterproofing, and separation from electrical wiring to reduce interference and water damage.
Do you provide warranty on dish installations?
Yes. Sat Digital provides warranty support on installation workmanship and helps customers with follow-up technical support where required. We test signal strength, check signal quality, lock the dish, secure the connectors, and confirm that your decoder receives channels before handover.
Warranty support is especially useful if strong wind, rain, corrosion, or accidental movement affects the dish shortly after installation. We can inspect the bracket, LNB, f connectors, coaxial cable, plug, decoder settings, and overall setup.
Ongoing maintenance is also available for homes and commercial properties that need reliable viewing, multiple tv points, dstv extra view, or regular signal checks.
How much does professional DStv dish installation cost?
Your dstv installation cost depends on the dish size, LNB type, cable length, mounting method, access difficulty, number of decoders, and whether you need new equipment or repair work. Installation fees also vary when a job needs special roof access, extra cable runs, multiple viewing points, or advanced dstv explora setup.
DIY installation can save R800-R1,500 in costs. However, DIY installations often lead to common mistakes like poor alignment, weak mounting, loose connectors, incorrect decoder configuration, and cable damage. Those mistakes can cause DStv error E48-32, pixelation, missing channels, and repeat repair costs.
Professional installers have tools for optimal dish alignment, use RG6 coaxial cable for better signal quality, waterproof outdoor connections, keep cables away from electrical wiring, and use a satellite finder or signal meter to complete accurate dish alignment. As a result, professional installation gives better long-term value than a rushed diy setup.
Contact Sat Digital Today
Ready to get your DStv dish professionally installed with optimal signal reception? Contact Sat Digital for DStv Dish Installation, DStv Satellite Dish Installation, DStv Dish Alignment, DStv Dish Setup, New DStv Dish Installation, DStv Signal Installation, and Same-Day DStv Dish Installation throughout Cape Town and the Western Cape.

Get Started Today!
Speak to a DStv installation specialist and book a professional service that gives you clear channels, strong signal reception, secure mounting, proper cabling, and reliable viewing.
Call 071 304 6955 Today
Book Your DStv Dish Installation
Request Same-Day Service
Contact Sat Digital Now
Speak To A DStv installation specialist.
Phone: 071 304 6955
Email: info@satdigital.co.za
Website: www.satdigital.co.za
Service Areas: Cape Town and Western Cape
Free quotes and site assessments are available. Call Sat Digital now for professional service with warranty support and a complete DStv dish installation done correctly from dish to decoder.