How to Improve DStv Signal Strength
Nothing ruins an evening quite like settling in to watch your favourite show only to be greeted by pixelated images, freezing frames, or the dreaded E48-32 error—often caused by low dstv signal strength. The E48-32 error indicates complete signal loss on a DStv decoder. If you’re in Cape Town or the Western Cape, you’re not alone—our coastal winds, winter storms, and fast-growing vegetation create perfect conditions for dstv signal problems.
The good news? Many signal issues have straightforward solutions. This guide walks you through practical steps to restore crystal clear picture quality, from quick decoder resets to understanding when professional help is the smarter choice. Whether you’re dealing with a weak signal after last night’s storm or persistent signal issues that have plagued your setup for months, we’ll help you identify the problem and fix it.
Introduction to Signal Strength
Signal strength is the backbone of your DStv viewing experience. It refers to the power of the satellite signal received by your DStv dish, and it plays a direct role in the quality of the picture you see on your screen. When your signal strength is high and your dish is perfectly aligned, you’ll enjoy crystal clear picture quality and uninterrupted entertainment. However, a weak signal can quickly lead to pixelated images, frustrating signal loss, and even complete blackouts during your favourite show.
Signal strength is measured as a percentage on your decoder, with higher numbers indicating a stronger, more reliable signal. Achieving optimal signal strength starts with a properly installed and aligned DStv dish, free from obstructions and securely mounted to withstand Cape Town’s notorious winds. Even small misalignments or minor obstructions can lead to a drop in signal strength, resulting in poor quality or loss of signal altogether.
Understanding and monitoring your signal strength is the first step to preventing signal problems and ensuring your dstv system delivers the quality you expect. By keeping your dish in top condition and regularly checking your signal readings, you can avoid the common pitfalls that lead to weak signal and enjoy a consistently high-quality viewing experience.
Fast Fixes: What to Try First When Your DStv Signal Drops
Before climbing onto your roof or calling anyone, try these quick actions. Many Cape Town homeowners resolve their signal problems in minutes with these non-technical steps. These checks rule out simple causes and can save you the cost of a service call.
Work through these steps in order:
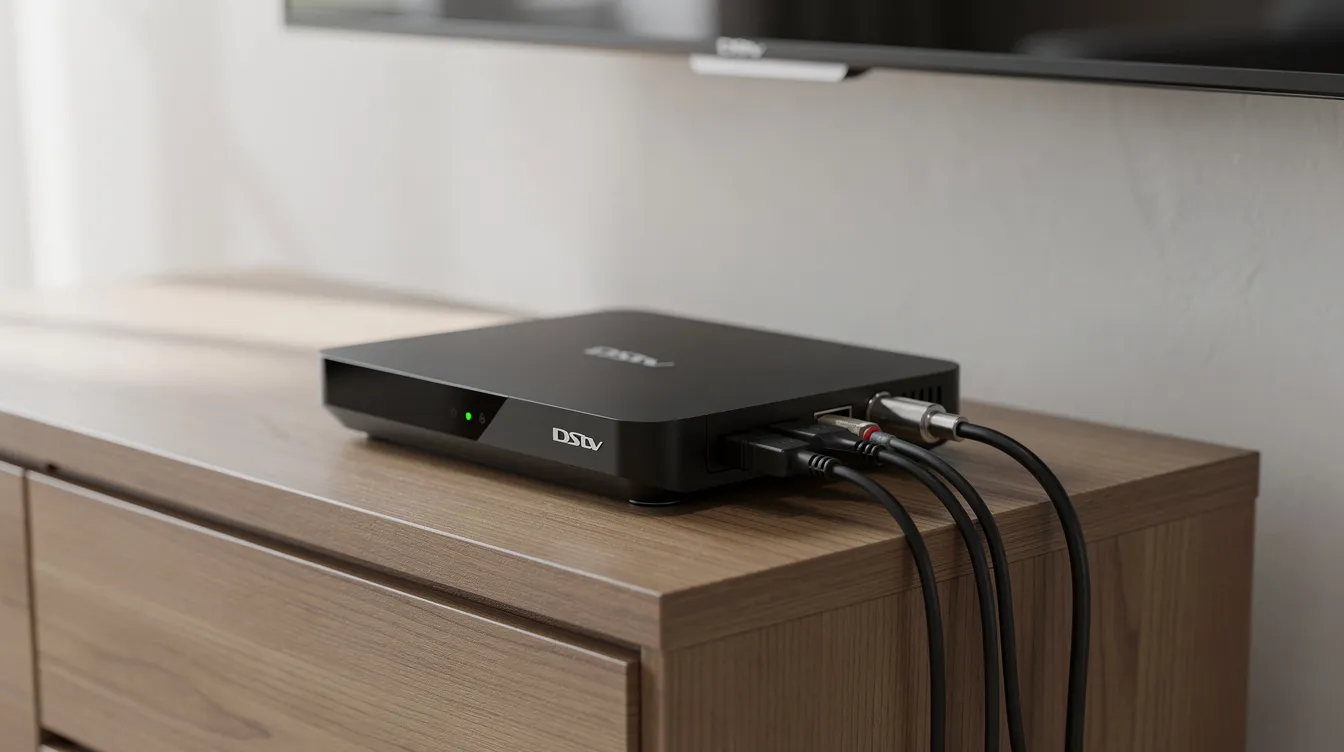
Restart your dstv decoder properly. Unplug the power cable from the wall socket—not just from the decoder. Wait 30-60 seconds (this fully discharges internal capacitors), then plug back in. Wait for the decoder to complete its full boot sequence before testing channels. This simple step resolves 20-30% of E48 32 errors according to our field data.
Check your current channel. Some transponders carry weaker signals than others. Try switching to a different channel to confirm the problem affects all viewing, not just one station.
Access the signal status screen. Press HELP on your remote, then navigate to General Information → Tuner Status. On Explora models, go to Menu → Settings → Satellite → Signal Info. This screen shows your live signal strength and quality readings. Signal strength provides an important indication of your satellite dish’s alignment and overall setup quality.
Understand what you’re seeing. Look for two bars: strength (green) should read 70% or higher, and quality (blue) should show 80% or above. If strength is above 70% but quality sits below 50%, you likely have an alignment or equipment issue rather than a complete signal loss.
Tighten F connectors by hand. Check the threaded cable connections at the back of your decoder and at any wall plates. Gently hand-tighten any that feel loose—no tools needed. Loose connectors cause micro-arcing and can introduce 3-6 dB of signal loss.
Inspect visible cables for damage. Look at the coaxial cable near your decoder for obvious kinks, crushed sections, or cracked outer sheathing. Cables running along exterior walls often degrade from UV exposure after five or more years.
Test a different power socket. Plug your decoder into another outlet, bypassing any power strips or surge protectors. Faulty multi-plugs can cause voltage drops that mimic signal loss, particularly under load.
If error E48-32 persists after completing these checks, the problem runs deeper. The E48-32 error message typically states that there is no signal, which may be due to bad weather or a faulty connection. Move on to the troubleshooting sections below or contact Sat Digital for a professional diagnosis.
Understanding DStv Signal Strength vs Signal Quality
Many homeowners in the Western Cape focus entirely on the signal strength bar while ignoring quality—and then wonder why their picture still breaks up. Understanding both readings helps you pinpoint exactly what’s wrong with your dstv setup. The transmitter for DStv is the Eutelsat 36B satellite, and your dish must be pointed precisely at 36° East to receive the signal.
Signal strength measures the raw power level of the radiofrequency carrier wave arriving at your satellite dish from Eutelsat 36B, positioned at 36 degrees East longitude. Think of it as volume—how loud the signal received by your dish actually is. Higher strength means more power reaching your low noise block downconverter (LNB).
Signal quality measures how clean and error-free the digital data stream is after your decoder processes it. This reading reflects the bit error rate in the signal. For HD channels using MPEG-4 compression, quality matters more than strength. A signal can arrive with plenty of power but still contain enough errors to cause freezing and pixelation.
Target readings for Cape Town reception:
Strength: 70-100%
Quality: 80-100%
Here’s a common scenario: your strength reads 90% (excellent), but quality shows only 40%. You’ll experience constant pixelation during sport broadcasts and movies because the variable bitrate streams exceed acceptable error thresholds. This combination typically indicates dish misalignment, LNB skew problems, or multipath interference from nearby reflections.
Both values depend on proper alignment of your dish, the condition of your LNB, cable integrity, and local interference. When troubleshooting, always check both numbers—a perfectly aligned dstv dish shows balanced readings across both meters.
Checking Signal Status on Your DStv Decoder
Keeping an eye on your DStv signal strength and quality is one of the simplest ways to prevent unexpected interruptions and maintain a crystal clear picture quality. Your DStv decoder provides real-time feedback on the signal received from your satellite dish, making it easy to spot potential signal problems before they escalate into complete signal loss or persistent signal issues like the dreaded E48-32 error.
How to Access Signal Metrics:Start by using your DStv remote to navigate to the “HELP” menu. From there, select “General Information,” and then choose “Tuner Status” (the exact wording may vary depending on your decoder model). This screen displays two crucial indicators: signal strength and signal quality. These readings give you a direct look at how well your dstv dish is receiving the satellite signal and how clean that signal is by the time it reaches your decoder.
Understanding Signal Strength and Quality:Signal strength measures the power level of the signal received by your dish from the satellite transmitter. A higher percentage means a stronger signal is being picked up, which is essential for reliable viewing. Signal quality, on the other hand, reflects how stable and error-free the signal is after it travels through your dish setup, cables, and LNB. Both metrics are vital—high strength with low quality often points to issues like dish misalignment, interference, or obstructions in the signal path.
What Do the Numbers Mean?For optimal DStv viewing, aim for a signal strength of at least 70% and a signal quality of 80% or higher. Readings below these thresholds can lead to weak signal, pixelated images, or even complete signal loss. If you notice low numbers, it could be due to poor installation, tree growth, new buildings blocking your line of sight, dense cloud cover, or weather conditions like heavy rain causing rain fade.
Spotting and Addressing Issues:If your decoder shows low signal strength or quality, start with the basics: check that all F connectors are tightly secured and free from corrosion, and make sure there’s a clear line of sight between your dstv dish and the satellite. Look for any obvious obstructions such as overgrown trees or new structures that might block the signal path. Sometimes, interference from nearby equipment or water ingress in cables can also affect the signal received.
When to Call a Professional:If you’ve checked the obvious and still see poor signal strength and quality, or if you suspect issues like LNB failure or dish misalignment, it’s time to call in a certified technician or accredited installer. Persistent signal issues, especially after storms or strong winds, often require professional help to restore your dstv installation to peak performance.
Stay Proactive:Make it a habit to check your signal status regularly—especially after severe weather, during the rainy season, or if you notice any changes in your surroundings that could affect your dish setup. Early detection of signal problems can save you from missing your favourite show and help you avoid more costly repairs down the line.
By regularly monitoring your decoder’s signal readings and taking prompt action when issues arise, you’ll ensure your dstv signal remains strong and your viewing experience stays uninterrupted. Remember, a perfectly aligned dstv dish and proper installation are the foundation for reliable signal strength and quality—don’t hesitate to seek professional help from Sat Digital if you need expert support.
Common Causes of Weak DStv Signal in Cape Town and the Western Cape
Our region presents unique challenges for satellite reception. Coastal winds, heavy winter rain, and dense suburban vegetation combine to create signal problems that installers in Johannesburg rarely encounter. Use this list as a diagnostic checklist before deciding whether you need a repair or a full system upgrade.
Misaligned satellite dish. This accounts for roughly 40% of service calls after Cape Doctor season. Strong south-easterly winds exceeding 100 km/h can shift your dish by several degrees—enough to cause complete signal loss or persistent weak signal issues. Improper dish setup or poor installation, such as incorrect alignment or insecure fittings, can also lead to ongoing alignment problems and unreliable signal reception.
Tree growth and obstructions. Fast-growing trees in suburbs like Durbanville, Kuils River, and Fish Hoek frequently block the signal path to 36° East. Ku-band signals cannot penetrate even 10cm of foliage without losing 20 dB. New buildings in your line of sight create similar interference.
Rain fade and dense cloud cover. Heavy winter storms, particularly over the Table Mountain area, cause water droplets to attenuate signals by 5-10 dB. This rain fade peaks between June and August during 50mm/hour downpours and affects even well-aligned dishes.
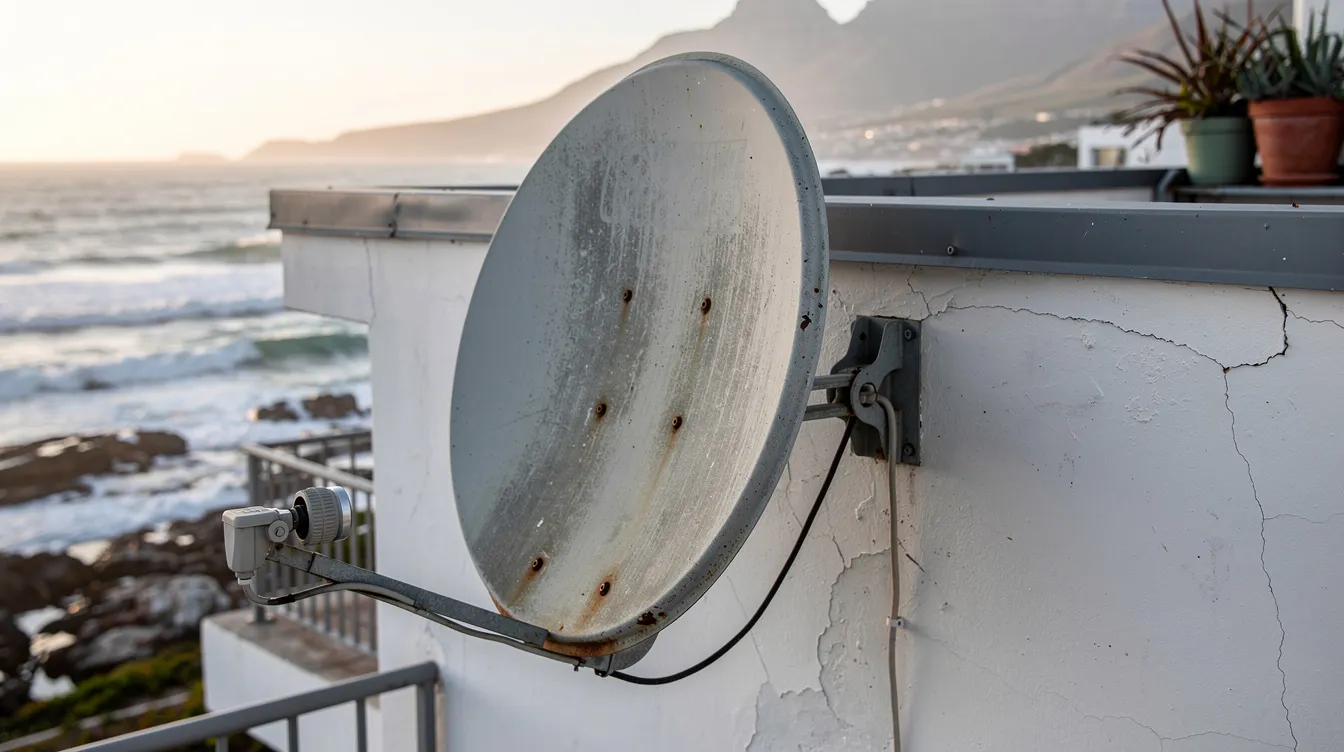
Rusted or bent dishes. Coastal locations—Sea Point, Blouberg, Strand—experience salt spray corrosion at rates 2-5 times higher than inland areas. Rust reduces dish reflectivity and gain by 1-3 dB over just two to three years.
Damaged cables and water-logged F connectors. Moisture ingress through cracked cable sheathing or poorly sealed connectors shorts out the system. Water enters via capillary action during rain, causing intermittent faults. Cable issues account for nearly 40% of all DStv signal problems according to ServiceLink SA’s service data. Replace cables older than 5 years with high-quality RG6 coaxial cable.
LNB failure. Universal LNBs typically last 5-7 years before their noise figure rises from 0.3 dB to 1.5 dB. Failing LNBs cause selective channel loss, particularly on high-frequency bands. Signs include random E48-32 errors or signal loss specifically after rain.
Decoder and software issues. Ageing decoders, outdated firmware, or faulty power supplies can mimic external signal problems. Industry data suggests roughly 15% of “no signal” complaints trace back to internal decoder faults.
How to Improve DStv Signal Strength by Adjusting Your Dish and LNB
Small alignment changes produce significant results—a shift of just one or two degrees can transform poor signal strength into reliable reception. However, safety comes first. If your dish sits above single-storey height, is mounted on a steep roof, or requires ladder access in windy conditions, call Sat Digital rather than risking injury.
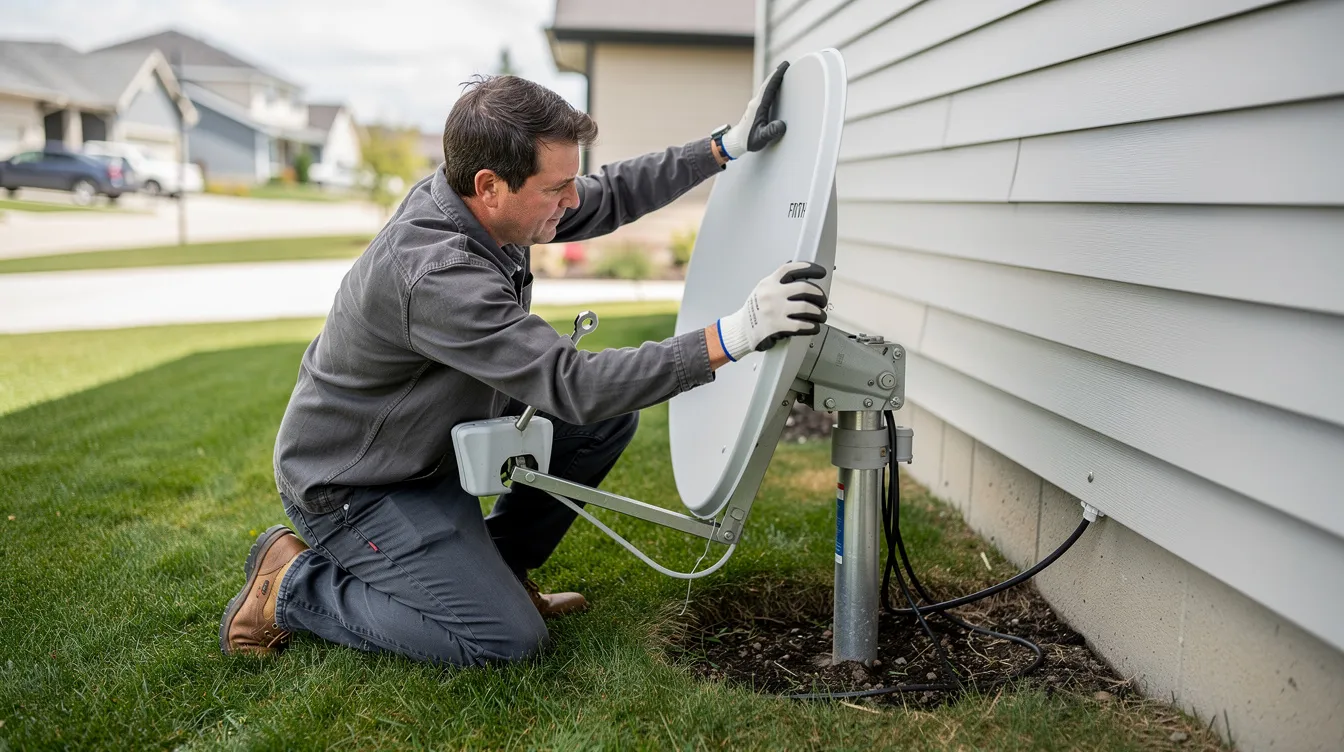
For accessible ground-level or low-roof dishes, follow this sequence:
Set up for live monitoring. Move a portable TV and decoder (or use a long cable run) where you can see the screen while reaching the dish. Open the Tuner Status screen to watch strength and quality in real time.
Mark your starting position. Before loosening anything, use a marker pen or tape to note the current dish position on the bracket. If adjustments make things worse, you can return to this baseline.
Understand the correct direction. From Cape Town, aim your dstv dish at approximately 36° East (roughly north-east). Elevation should sit between 48-52° from horizontal, and azimuth between 58-62° true north.
Adjust in small increments. Loosen the bracket bolts just enough to allow movement. Shift the dish a few millimetres at a time—watch your quality reading as you move. Retighten firmly once you peak both meters.
Skew the LNB for optimal quality. The LNB can be rotated within its holder. For 36°E reception from Cape Town’s latitude, a slight rotation (10-15 degrees vertical) often improves quality by 10-20%. This adjustment affects transponder polarization.
Consider dish size. Standard 60cm dishes work well in most areas. For rain-prone locations like Kommetjie or Melkbosstrand, a 90cm dish provides 4-6 dB extra margin—enough to maintain reception during heavy storms when smaller dishes fail.
Proper alignment using professional meters typically achieves 90%+ readings. Sat Digital technicians carry calibrated equipment and can fully recalibrate your dstv installation within a single visit.
Checking and Upgrading Your Cables, Connectors, and LNB
Up to 40% of signal issues we diagnose at Sat Digital trace back to cabling problems or failing LNBs—not the dish itself. Before assuming you need realignment, inspect your equipment.
Cable inspection checklist:
Walk the cable run where accessible. Look for cracks in the outer sheathing, sections pinched by doors or windows, or UV damage from sun exposure. Older cables turn brittle and develop micro-fractures.
Check all F connectors for corrosion, looseness, or visible moisture. Pay particular attention to connections at roof level and on exterior walls where weather conditions cause most damage.
Older RG59 cable attenuates signals at 8 dB per 100 metres at 12 GHz. Modern RG6 cable loses only 4.5 dB over the same distance. For multiroom setups, long runs to guesthouses, or commercial B&B installations, RG6 upgrades make a measurable difference.
Signs your LNB is failing:
Random E48-32 errors that clear temporarily after power cycling
Specific channels missing while others work fine
Signal drops shortly after rain (suggesting water ingress into the waveguide)
Incompatibility with Explora decoders when using older universal LNBs
For ExtraView setups or homes with multiple viewing points, smart LNBs with 8 outputs provide the capacity modern decoders require. Proper weather-proofing with rubber boots and self-amalgamating tape on outdoor connections prevents 75% of water ingress failures.
Signal amplifiers (10-20 dB gain) help on cable runs exceeding 50 metres—but only install them after confirming alignment and cables are sound. Amplifiers boost noise alongside signal if upstream losses already exceed 10 dB.
Sat Digital service vehicles carry replacement LNBs, RG6 cable, and compression F connectors for on-site repairs.
Signal Amplification: When and How to Use a Booster
In some situations, even after ensuring your DStv dish is properly aligned and your cables are in good condition, you may still experience weak signal or intermittent dstv signal strength issues. This is where signal amplification comes into play. A signal booster, also known as a line amplifier, is designed to increase the strength of the dstv signal as it travels from your dish to your decoder, helping to overcome losses caused by long cable runs or minor obstructions.
Signal boosters are especially useful in larger homes, commercial installations, or properties where the decoder is located far from the dish. There are different types of boosters available, including inline amplifiers and powered distribution amplifiers, each suited to specific dstv installation scenarios. Installing a booster is generally straightforward—most models simply connect in-line with your existing coaxial cable, ideally as close to the dish as possible to maximize effectiveness.
However, it’s important to use signal amplification carefully. Over-amplifying the signal can introduce noise and distortion, leading to new signal problems rather than solving existing ones. Always check your signal strength and quality readings before and after installation, and avoid stacking multiple boosters on the same line. If you’re unsure whether a booster is the right solution for your weak signal, consult a professional installer like Sat Digital to assess your setup and recommend the best approach for your dstv signal needs.
Weather, Obstructions, and Rust: Protecting Your DStv Signal for the Long Term
Western Cape weather conditions test every outdoor installation. Smart positioning and regular maintenance prevent most seasonal signal problems.
Managing rain fade:
Rain fade occurs when water droplets in heavy cloud cover attenuate your signal. You cannot prevent rain, but you can build margin into your system. A well-aligned dish with quality cabling maintains reception through 30mm/hour rainfall that would black out a poorly optimised setup. During the rainy season, this margin becomes critical.
Controlling vegetation:
Trees grow faster than most homeowners realise—particularly in green suburbs like Newlands and Constantia. Schedule quarterly checks of your signal path and trim any branches or creepers that encroach within several metres of the line between your dish and the north-eastern sky. Even partial obstructions from trees cause significant signal degradation.
Optimal mounting positions:
Mount dishes on rigid walls or chimneys with unobstructed north-eastern views. Avoid positions beneath gutters (dripping water accelerates corrosion) or overhanging roof sections that can affect the signal path.
Fighting rust and corrosion:
Choose galvanised G275 steel or 6063 aluminium dishes and brackets—they corrode at 0.05mm per year versus mild steel’s 0.2mm
In coastal areas (Muizenberg, Gordon’s Bay, Table View), specify marine-grade stainless fixings
Repaint any surface rust early before it affects reflectivity
Annual maintenance schedule:
Before each winter, inspect your installation for loose bolts (torque to 15 Nm), cracked brackets, or sagging masts. Lightning strikes damage LNBs and decoders—surge protectors and proper earthing protect your equipment. Roughly 10% of LNB failures stem from electrical surge damage.
Decoder Checks, Software Updates, and When DIY Is Not Enough
Not every “no signal” problem originates outside. Sometimes the issue starts inside your decoder or with incorrect configuration settings. Try these internal checks before assuming you need outdoor repairs.
Decoder troubleshooting steps:
Power cycle correctly. Unplug the decoder from the wall for at least 30 seconds—this clears temporary memory issues. Reconnect and allow the full boot sequence to complete before testing.
Check for software updates. Navigate to Help → Software Update (or Settings → System on Explora). Allow any pending firmware updates to download and install fully. Outdated transponder tables cause channel scanning failures.
Verify installation settings. Incorrect LNB type selection (universal versus single) can drop quality by 20%. If someone recently changed settings, check that the satellite configuration matches your actual equipment.
Avoid unnecessary resets. Repeatedly factory-resetting Explora or XtraView setups without understanding the configuration creates additional problems. ExtraView requires specific network settings between linked decoders.
When to call Sat Digital:
E48-32 error persists after all cable and connector checks
Your dish is mounted beyond safe reach
Multiple TVs in an ExtraView setup experience simultaneous failure
Signal quality refuses to climb above 50% despite adjustments
We serve Cape Town CBD, Northern Suburbs, Southern Suburbs, Atlantic Seaboard, West Coast, and Winelands with same-day availability for most appointments. Business clients running hotels, guesthouses, or sports bars benefit from scheduled maintenance before peak seasons—avoiding downtime when it matters most.
Advanced Optimization Techniques for Maximum DStv Signal
For those seeking the absolute best from their DStv system, advanced optimization goes beyond basic installation. Achieving maximum dstv signal strength and quality involves fine-tuning every part of your signal path, from the dish to the decoder.
Start with precise dish alignment—using a professional signal meter allows you to adjust both azimuth and elevation for the highest possible readings. Next, focus on your LNB: a slight rotation (skew) can dramatically improve signal quality by aligning the polarization with the satellite’s transmission. Make sure your LNB is securely mounted and free from corrosion or water ingress.
Cable management is equally important. Use high-quality RG6 coaxial cables and compression F connectors to minimize signal loss over distance. Avoid sharp bends, kinks, or running cables near sources of electrical interference. For longer cable runs, consider using a single uninterrupted length to reduce connection points where signal loss can occur.
Upgrading to a smart LNB or using weatherproofed connectors can further enhance your dstv installation, especially in areas prone to rain or salt air. Regularly inspect all equipment for wear and replace any components showing signs of damage. By combining these advanced techniques, you’ll ensure a strong, stable dstv signal and enjoy crystal clear picture quality, even in challenging environments.
Sat Digital: Professional DStv Signal Repair and Installation in Cape Town
Sat Digital provides specialist dstv installation and repair services across Cape Town and the Western Cape for both residential and commercial clients. Our certified technicians diagnose and resolve signal problems that DIY methods cannot fix.
Our signal-related services include:
Precision dish alignment using professional signal meters (0.1 dB accuracy)
LNB replacement with DStv-approved smart LNBs
Complete cable rewiring with RG6 and compression connectors
Rain-fade mitigation strategies including dish upgrades
Fault diagnosis for complex multiroom and ExtraView setups
During signal visits, we also offer TV wall mounting and projector installation—completing multiple jobs in one appointment.
Real results: A recent Bloubergstrand client called after strong winds left them with readings of 45% strength and 55% quality. Our technician installed reinforced brackets, realigned the dish, and replaced a corroded connector. Final readings: 85% strength, 95% quality—restored within a single visit.
As an accredited installer, Sat Digital maintains Eutelsat-approved installation standards. We carry replacement parts on all service vehicles, eliminating return trips for common repairs.
Contact Sat Digital today for same-day or next-day appointments throughout Cape Town:
Phone and WhatsApp for instant booking
Online scheduling for “DStv installer near me” convenience
Transparent pricing with no hidden call-out fees
Don’t let signal problems interrupt your viewing. Whether you need emergency repair or proactive maintenance, professional help is one call away.
Frequently Asked Questions About Improving DStv Signal Strength
These questions come directly from Cape Town customers calling Sat Digital for signal assistance.
What is a good DStv signal strength and quality percentage? Aim for 70% or higher on strength and 80% or higher on quality. Below 60% strength or 50% quality typically causes visible problems—pixelation, freezing, or error codes. HD channels require quality above 80% for stable reception.
Will a bigger dish improve my DStv signal in bad weather? Yes. A 90cm dish provides 4-6 dB more gain than a standard 60cm dish, creating extra margin during heavy rain. This upgrade makes sense in rain-prone areas like Kommetjie, Melkbosstrand, or anywhere experiencing regular winter signal drops.
Can I move or realign my DStv dish myself? Only if the dish is safely accessible without ladders or roof climbing. Ground-level and low single-storey mounts can be adjusted with basic tools. For anything higher, wet surfaces, or installations requiring professional meters, call an accredited installer. Falls account for 70% of installer injuries—homeowner risk is higher.
How much does DStv signal repair typically cost in Cape Town? Most repairs range from R600-R1200 including call-out and standard parts. LNB replacement adds R500-800 for the component. Complex multiroom rewiring or dish replacement costs more. Sat Digital provides upfront quotes before any work begins.
How often should I service or check my DStv installation? Annual inspections before winter catch most developing problems. After major storms or Cape Doctor wind events, a quick visual check of your dish position prevents extended outages. Commercial sites benefit from bi-annual professional assessments.
Does WiFi or 5G interfere with DStv signal? No. DStv uses satellite frequency bands (Ku-band, 10.7-12.75 GHz) that operate independently from WiFi (2.4/5 GHz) and 5G networks. If you suspect interference, the actual cause is almost always line-of-sight obstructions, equipment failure, or alignment issues—not wireless networks in your home.
Conclusion and Final Tips for Reliable DStv Reception
Reliable DStv reception is the result of understanding and actively managing your signal strength and quality. By following the practical steps and advanced techniques outlined in this guide, you can minimize signal problems and maintain a crystal clear picture quality year-round.
Make it a habit to inspect your dstv dish and cables regularly, especially after storms or strong winds. Adjust your dish alignment if you notice any drop in signal strength, and don’t hesitate to trim back tree growth or address new buildings that may block your signal path. If you experience persistent issues, consider using a signal booster—but always ensure your basic installation is sound before adding amplification.
Remember, weather conditions, obstructions, and even minor misalignments can affect your dstv signal strength and quality. Staying proactive with maintenance and adjustments will help you avoid unexpected outages and keep your entertainment uninterrupted. Whether you’re in Cape Town or elsewhere, these tips will help you achieve the best possible dstv signal, so you never miss a moment of your favourite shows. For complex issues or peace of mind, trust Sat Digital’s expert team to deliver professional solutions tailored to your needs.